
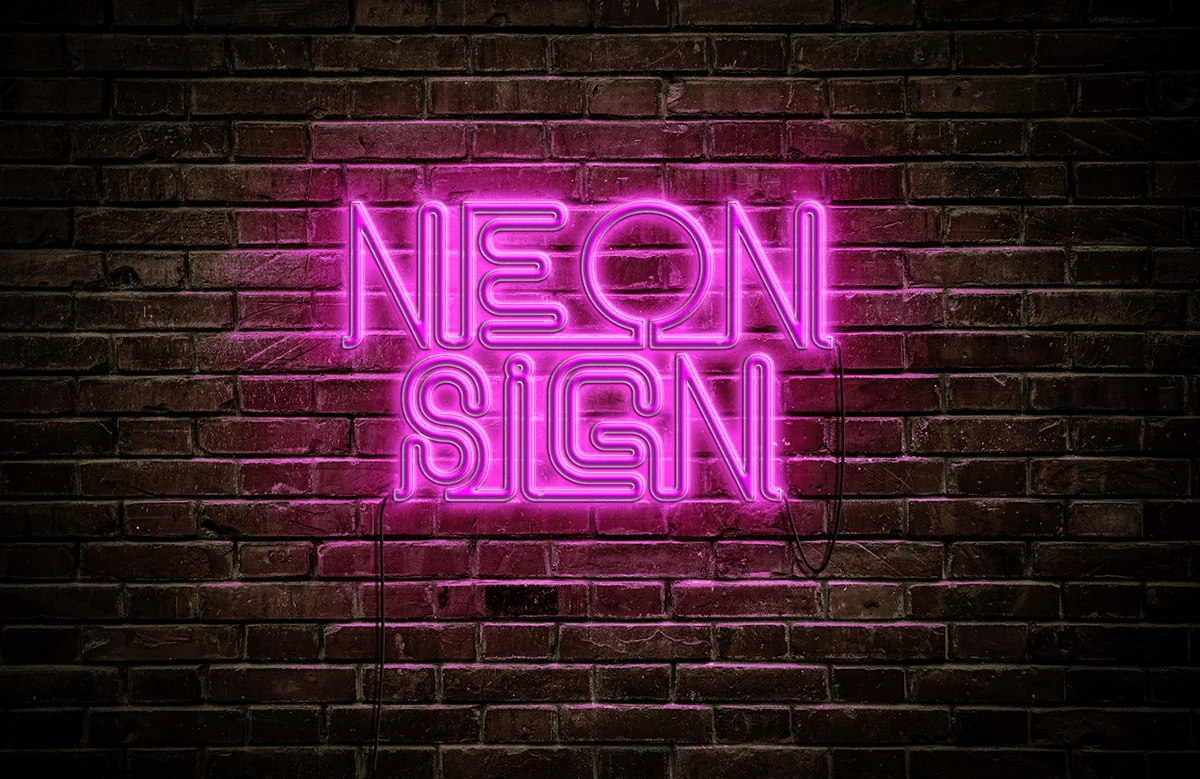
Learning the Art of Crafting Neon Signs: A Step-by-Step Guide
Neon signs are captivating and versatile elements in the realms of advertising and visual arts. The vibrant glow of neon adds a unique touch to various spaces, creating an atmosphere of retro charm and modern aesthetics. In this step-by-step guide, we will explore the fascinating process of learning آموزش ساخت نئون signs, turning your creative ideas into luminous reality.
Materials Needed:
Before diving into the process, it’s essential to gather the necessary materials. Here’s a list of items you’ll need:
- Neon tubing: The core component of any neon sign, neon tubing comes in various colors and sizes.
- Electrodes: These are the metal caps that seal the ends of the neon tube and connect to the power source.
- Transformer: A power supply that converts regular household electricity into the high voltage required to illuminate the neon tube.
- Gas: Neon signs are typically filled with noble gases, such as neon or argon, which produce distinct colors when ionized.
- Glassblowing tools: If you plan to shape and bend your own neon tubes, you’ll need specialized glassblowing tools.
- Workbench: A sturdy work surface with proper ventilation is crucial for safety during the neon sign-making process.
- Safety gear: Protective equipment, including gloves and safety glasses, is essential when working with glass and high voltage.
Step 1: Design Your Neon Sign
Start by sketching your design on paper or using graphic design software. Consider the message, font, and overall aesthetic you want to achieve. Keep in mind that simplicity often works best for effective neon signs.
Step 2: Prepare the Neon Tubing
If you’re bending your own neon tubes, carefully heat the tubing and use glassblowing tools to shape it according to your design. Ensure that the tubing is free of impurities that could affect the final result.
Step 3: Seal the Ends
Attach the electrodes to each end of the آموزش ساخت نئون, sealing it tightly. This process is crucial for maintaining a vacuum inside the tube and preventing the gas from escaping.
Step 4: Fill with Gas
Using specialized equipment, fill the neon tube with the chosen noble gas. Different gases produce different colors when ionized, allowing you to achieve the desired hue for your neon sign.
Step 5: Connect to the Transformer
Carefully connect the electrodes to the transformer, ensuring a secure and stable connection. The transformer will supply the high voltage needed to illuminate the neon tube.
Step 6: Test and Install
Once the neon sign is connected to the transformer, test it to ensure everything is working correctly. If all is well, install the sign in your desired location, creating a stunning visual impact.
Conclusion:
Learning how to make neon signs is a rewarding and creative endeavor. With the right materials, careful planning, and attention to safety, you can bring your artistic vision to life through the mesmerizing glow of neon. Experiment with designs, colors, and shapes to craft unique and eye-catching آموزش ساخت نئون signs that leave a lasting impression.